

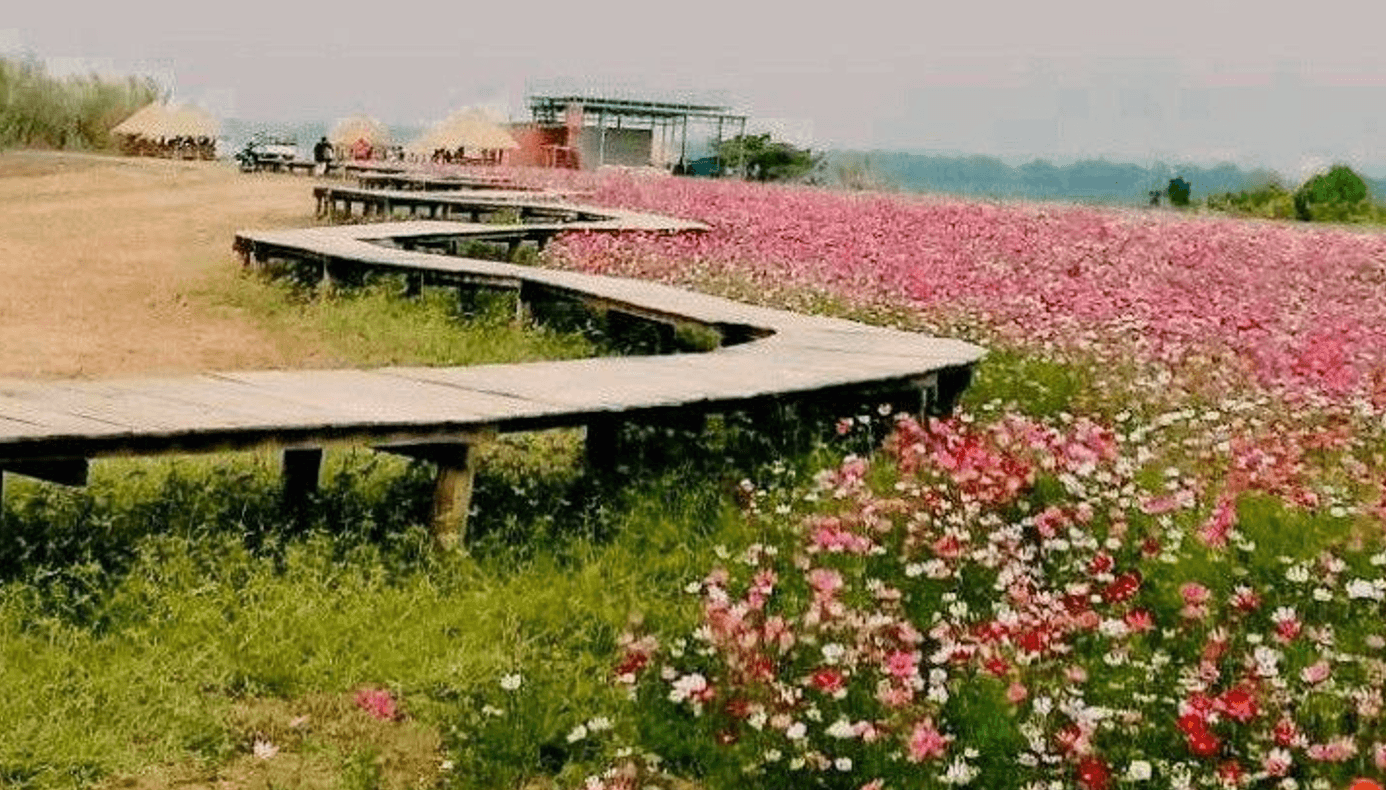
If you want to know how to build a wooden walkway through a flower garden without renting machinery or hiring a construction crew, our own build proves it is possible.
Visitors who stroll along our meandering, 900-meter bridge assume it took master engineers and a budget of tens of thousands of dollars.
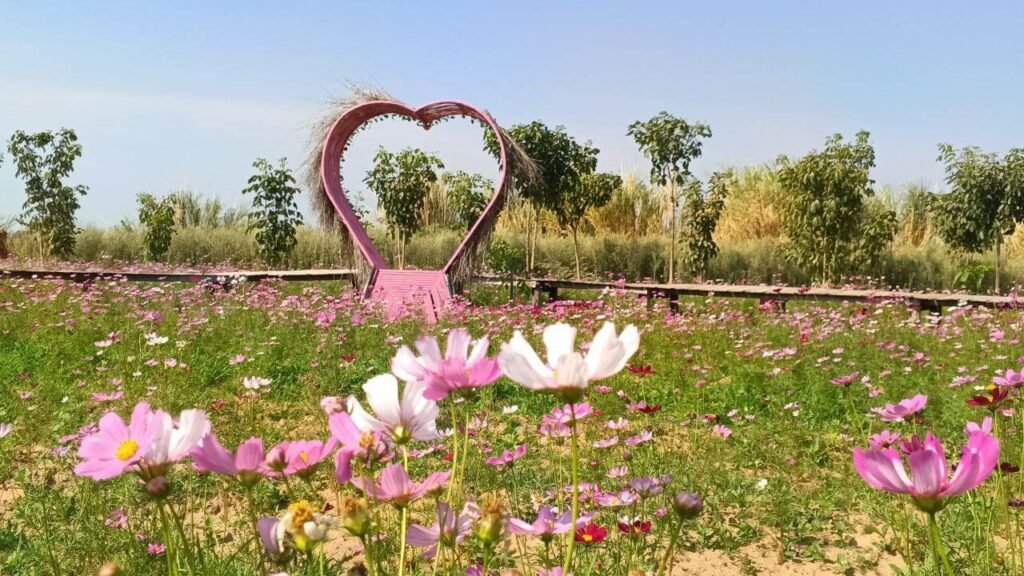
In reality, we built the whole thing with nothing more than a hammer, an axe, basic hardware, and a vision. We call it the Paradise Bridge, and it is still the most photographed feature in our garden.
Key Takeaways
- Completely manual build: Constructed entirely by hand with a hammer, axe, hand saw, and basic hardware—no heavy machinery involved.
- No concrete required: Posts were driven straight into the earth, eliminating the need for expensive concrete footings.
- Weather-resistant design: A 1/4-inch gap between deck boards manages heavy drainage and wood expansion during monsoon season.
- Natural shaping: Curved sections were created by fanning straight boards at an angle, avoiding the need to steam-bend wood.
- Integrated aesthetics: Built and painted in 10-meter phases to beautifully match the surrounding flower beds.
Why a Garden Business Needs an Elevated Wooden Walkway
When we first opened our public garden to visitors, we quickly ran into a harsh truth: foot traffic is a garden’s greatest enemy.
We are located in a tropical climate, so if we did not give guests a clean, dry, clearly defined path, they would trample the flower beds or sink into the mud once the monsoon season hit.
To solve that, we designed and built the Paradise Bridge, an extensive, elevated wooden boardwalk. It lets visitors wander directly through vibrant fields of Cosmos and Celosia (cockscomb) without ever stepping foot on the soil.
Choosing the Right Wood and Maintenance for Tropical Climates
When building an outdoor structure in Southeast Asia, particularly in regions like Kratié Province where the monsoon season brings intense moisture and high humidity, selecting the right timber is crucial. Because we skipped concrete footings, the wooden posts needed to withstand direct soil contact without rotting immediately.
For the load-bearing vertical posts, it is highly recommended to use a dense, naturally rot-resistant tropical hardwood, or wood that has been heavily treated with a preservative or liquid tar on the portion submerged underground. This creates a barrier against both moisture and subterranean termites.
Routine Maintenance:
To keep the walkway safe and vibrant, we perform an annual inspection right before the heavy rains begin. This includes:
- Checking for and replacing any soft or decaying deck boards.
- Tightening any screws or nails that have worked loose from the wood expanding and contracting.
- Applying a fresh coat of exterior-grade weatherproofing paint to seal the wood and maintain the bright, garden-matching colors.
Tools for a DIY Garden Walkway with Hand Tools
You do not need heavy machinery to build a walkway like this. We were operating on a bootstrap budget after some earlier business challenges, so we relied entirely on manual labor and standard hand tools.
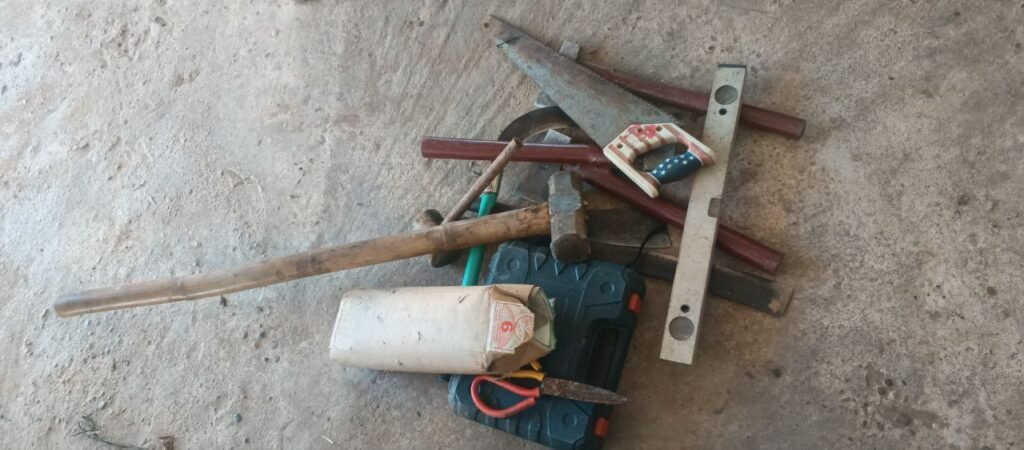
Here is everything we used:
- Sturdy wooden posts: For vertical load-bearing supports.
- Long wooden joists/beams: For horizontal framing.
- Timber planks: As decking boards for the walking surface.
- Hammer and axe: For driving posts and rough cutting.
- Hand saw: For trimming the decking boards.
- Heavy-duty hardware: Exterior-grade screws or nails designed to resist rust.
- A level (spirit level or water level): Absolutely critical for creating an even walking surface.
Safety Note: Building a load-bearing structure requires caution. Always wear protective footwear and thick gloves when handling raw timber and when swinging heavy hand tools such as axes and mallets to prevent injury.
Layout Planning and Setting Wooden Posts Without Concrete Footings
The most critical phase of this build is the foundation. Because we were building over a flower field rather than a residential deck attached to a house, we skipped expensive concrete footings entirely and drove our posts directly into the earth.

Planning with String Lines
We mapped out the exact meandering path of the walkway using string lines first. A curved, serpentine bridge looks far more natural in a garden landscape than a rigid, straight one, so that aesthetic shaped every decision that followed.
Post Spacing and Keeping the Walkway Level
We drove thick wooden posts into the ground every few feet. The exact spacing depends entirely on the thickness of your decking boards. If the span between posts is too wide, the bridge will sag under the weight of foot traffic.
It is essential to use a level constantly during this stage so the tops of the support posts stay perfectly even, no matter what slopes, dips, or uneven terrain sit below them.
Decking Installation: Crafting the Curves and Handling Monsoon Rain
Once the posts were set and the horizontal joists secured, it was time to lay down the walking surface.
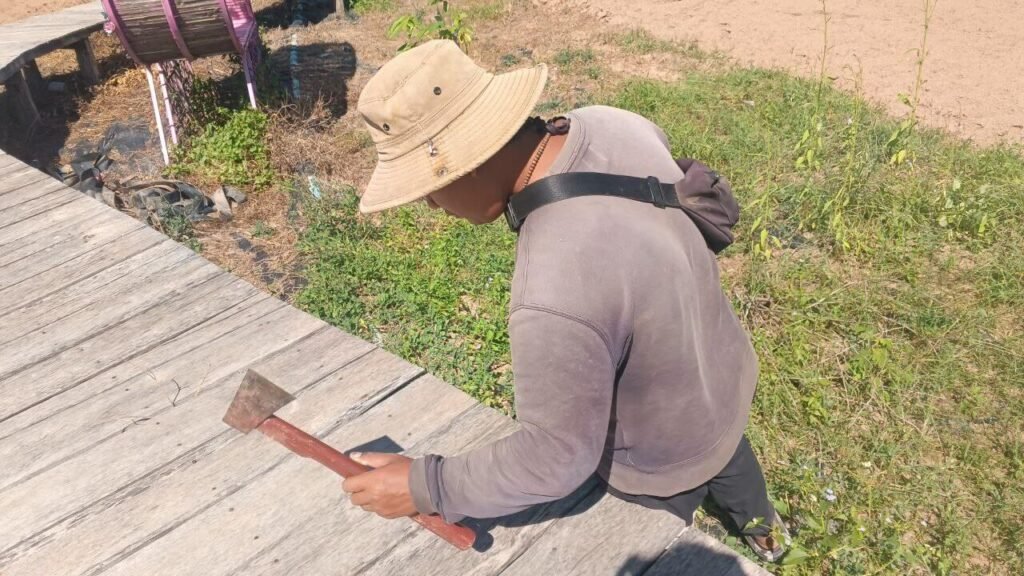
How to Build a Curved Boardwalk with Straight Deck Boards
Building a curved walkway out of straight timber boards takes a bit of geometric foresight. Rather than steaming or bending the wood, we fanned each deck board out at a slight angle along the frame.
Once fastened, we trimmed the overhanging edges with a hand saw and axe to create a smooth, sweeping curve along the sides.
Deck Board Spacing for Drainage
Heavy rainfall is a given in our climate. When fastening the decking boards, you must leave a small gap—about 1/4 inch—between each plank.
That gap does two vital jobs:
- It lets rainwater flow straight through the bridge instead of pooling on the walkway.
- It gives the wood room to expand. Wood swells in high humidity, so boards butted tightly together will warp, buckle, and distort once the rainy season arrives.
Painting and Finishing Touches
We completed construction in 10-meter phases, which allowed us to manage the workload efficiently.
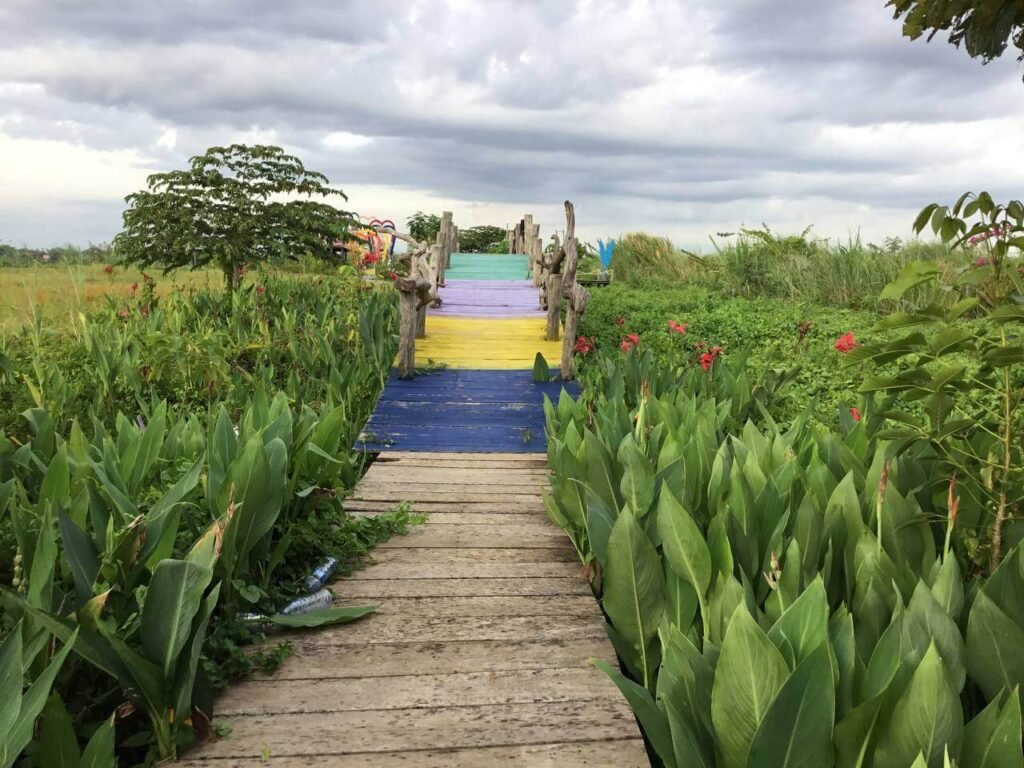
To make the Paradise Bridge complement the landscape, we painted specific sections of the bridge to harmonize with the surrounding floral blooms.
Using lively colors like yellow, blue, and green on the sections passing through matching flower beds turned a simple wooden path into a vibrant attraction.
The Real Payoff of a Wooden Walkway Through a Flower Garden

Building the Paradise Bridge was labor-intensive, but it transformed our garden business. It stopped visitors from trampling our fragile flower beds, completely ended the problem of muddy shoes, and became the single most photographed feature on the property.
If you have the time and basic carpentry skills, an elevated wooden walkway is one of the best investments you can make for a commercial garden space or a large residential landscape.
Frequently Asked Questions
Do you need concrete footings for a garden boardwalk?
No. We skipped concrete entirely and drove our wooden posts straight into the ground, since this was built over a flower field rather than a residential deck.
Why leave gaps between the boards on an outdoor wooden walkway?
A small gap, around 1/4 inch, lets rainwater drain through instead of pooling, and gives the wood room to expand in humidity without warping or buckling.
Can you build a curved walkway with straight lumber?
Yes. Instead of steam-bending the wood, fan each board out at a slight angle along the frame, then trim the overhanging edges with a saw for a smooth curve.
What tools do you actually need to build a garden walkway by hand?
Wooden posts, joists, timber decking planks, a hammer, an axe, a hand saw, exterior-grade screws or nails, and a level. No power equipment required.
How do you stop a wooden bridge from sagging?
Post spacing has to match the thickness of your decking boards. Too wide a span between posts and the walkway will sag under foot traffic.
